Gmail automatic forwarding#
Customers keep sending orders to your current Gmail address. Gmail forwards those messages to StackCube.
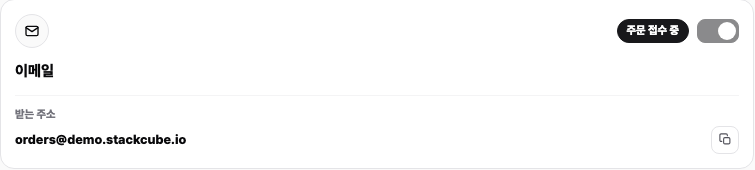
1. Copy the receiving address#
Open Channels → Email in StackCube and copy the receiving address.
2. Add it to Gmail#
- Open Gmail on a desktop browser.
- Select the Settings gear, then See all settings.
- Open Forwarding and POP/IMAP.
- Select Add a forwarding address.
- Paste the StackCube receiving address and send the confirmation message.
If forwarding is missing or blocked in Google Workspace, ask the Workspace administrator to allow automatic forwarding.
3. Verify the address in StackCube#
The Gmail confirmation message arrives in the StackCube email channel.
- Open Channels → Email → Email forwarding and select Check verification email.
- Open the verification link when it appears.
- Approve the forwarding address on Google's confirmation page.
If several confirmation messages exist, use the newest one.
4. Turn on forwarding in Gmail#
Return to Forwarding and POP/IMAP, choose the StackCube address, and save the change.
To forward only order messages, create a Gmail filter using a customer address, subject term, or recipient address. Set the filter action to Forward it to the StackCube address.
5. Send a new test email#
- Send a new message to the Gmail order address from another email account.
- Find the subject and sender in StackCube Intake history.
- Open the created order in Order management.
- Check that the body and attachments are complete.
Do not manually forward the same message after automatic forwarding is enabled. That can create a duplicate order.