Team members and roles#
StackCube works best when responsibilities are clear. Keep operational responsibilities simple and match them to the order lifecycle.
Recommended roles#
| Responsibility | Scope |
|---|---|
| Workspace owner | Workspace settings, billing, integration decisions |
| Admin operator | Catalog, customers, pricing, channels, team members |
| Reviewer | Order candidate review and correction |
| Approver | Final approval before export or fulfillment |
StackCube currently separates workspace access at the owner/admin level. Reviewer and approver are operating responsibilities that your team should assign clearly, even when the same admin account performs both tasks.
Invite flow#
- Invite admins first.
- Confirm item catalog and customer setup.
- Invite reviewers after the first channel is connected.
- Add approvers when live orders begin.
Member Invites and Status#
Invite team members by email from Settings. Invited members receive an email to access the admin console, and their status appears as invited, active, inactive, or similar.
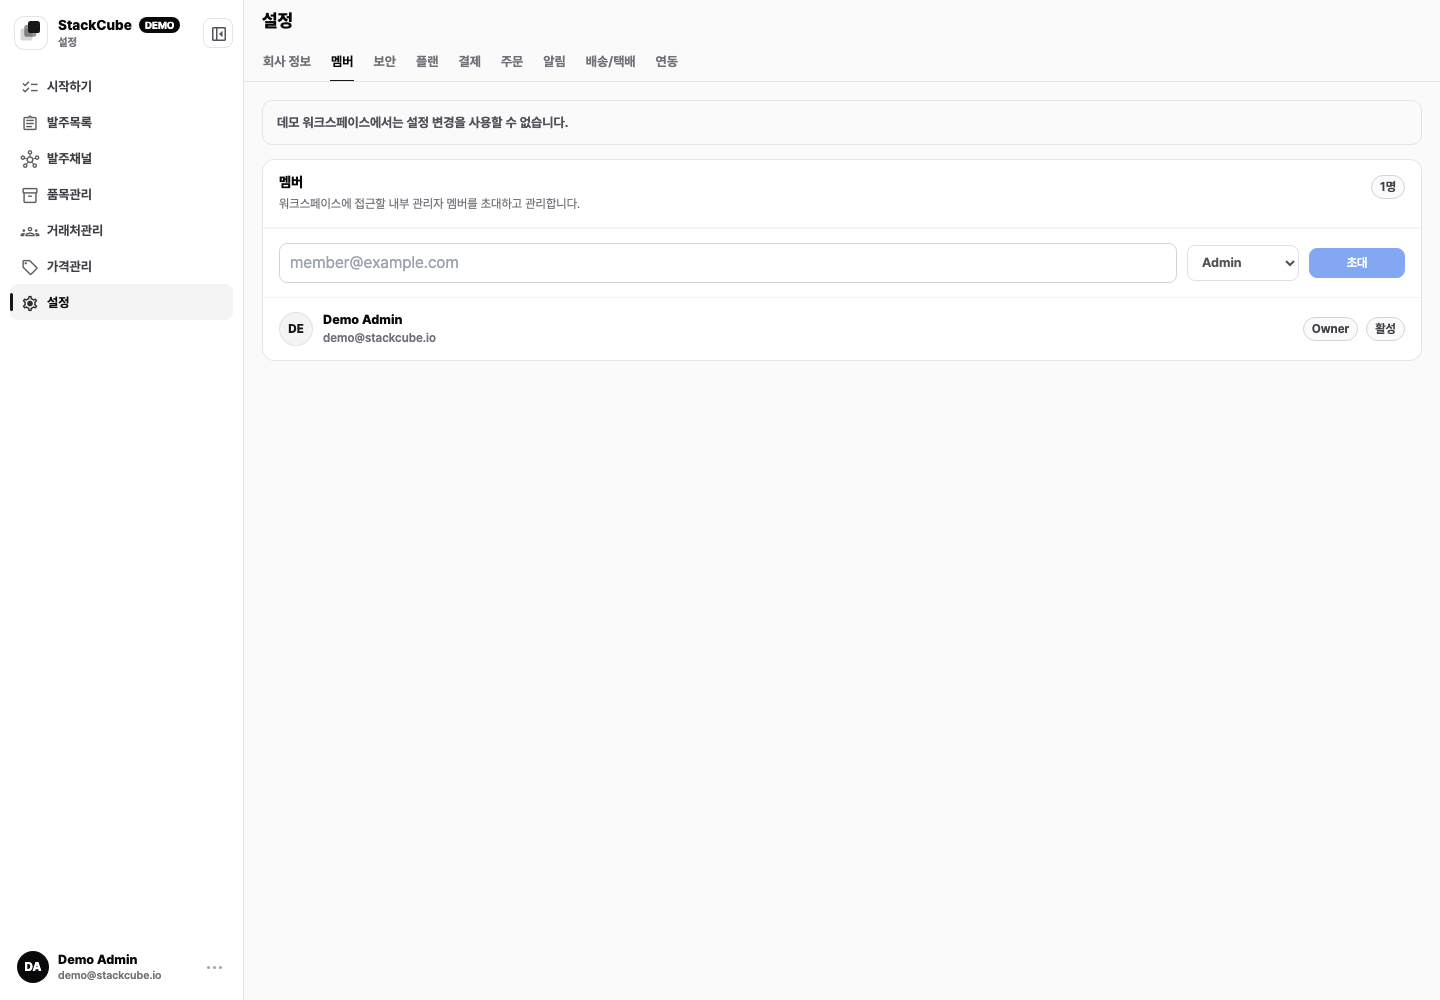
Use company accounts instead of personal emails. If an invite is missing, check the address, spam folder, and company mail security rules first.
Access control#
Grant the least access that lets each person complete their work. Reviewers usually do not need billing, integration, or team-management access.
If only owner/admin access is available for a small rollout, limit the number of admins and document who is allowed to approve production orders.
Owner Transfer and Passwords#
When ownership changes, transfer the workspace owner in Settings. Confirm the new owner can sign in with a company account and owns billing, integration, and team-management decisions.
Admins can change their own password. Prefer individual accounts over shared accounts, and disable accounts when people leave or responsibilities change.
Assignee policy#
Decide when a customer should have a named internal assignee. Common patterns are sales-owned accounts, high-volume customers, customers with special prices, or customers whose orders often need follow-up before shipping.
Keep the policy simple:
- Assign a customer only when someone is clearly responsible for follow-up.
- Leave shared or newly imported customers unassigned until ownership is clear.
- Review unassigned orders daily so they do not sit outside the team's normal queue.
- Reassign customers when a team member leaves or changes responsibility.
Operating practice#
Use order comments or internal notes for exceptions. Avoid resolving operational questions in private chat because the next reviewer needs the context.