Customer-specific pricing#
Use Pricing to assign a price tier to customers and configure its rules. Multiple tiers can reuse the same price list.
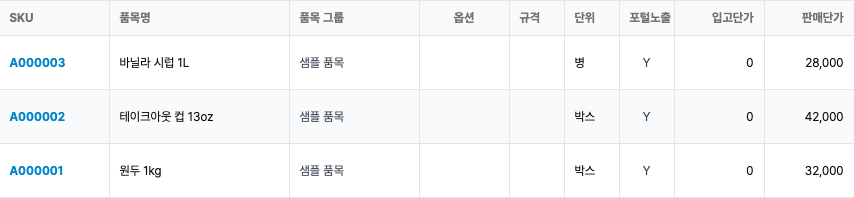
To import Ecount special prices, finish item sync first, then sync customers and prices.
1. Assign a price tier#
- Check default sales prices and VAT settings in Items.
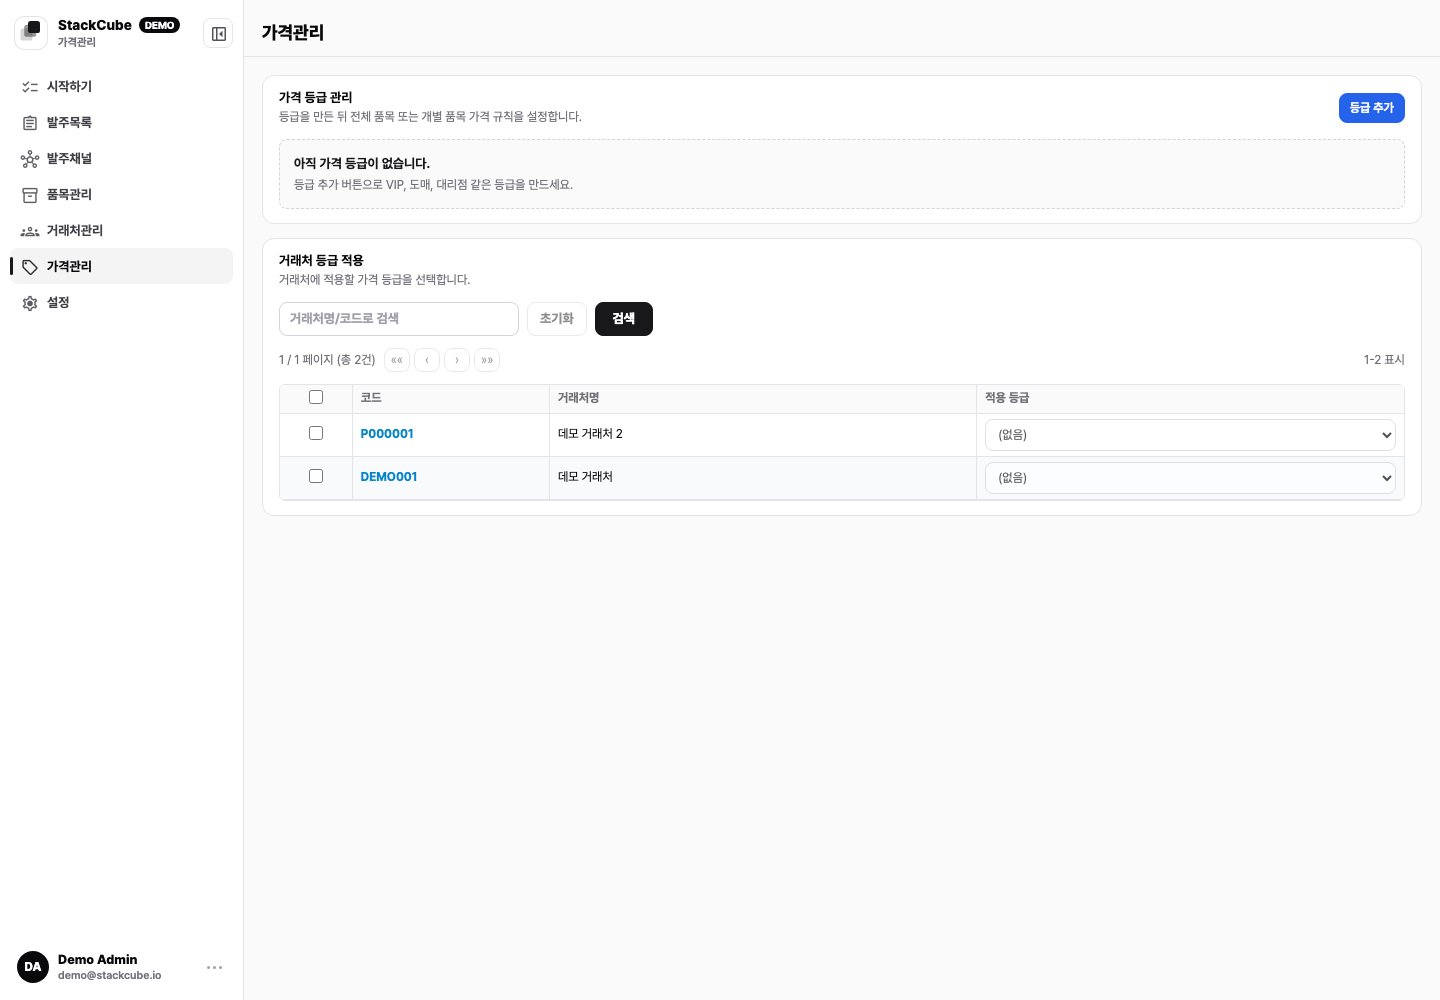
- In Pricing → Price tier management, add a tier with a code and display name.
- Select customers in Customer tier assignment and apply the tier.
- Open Price rule settings for that tier.
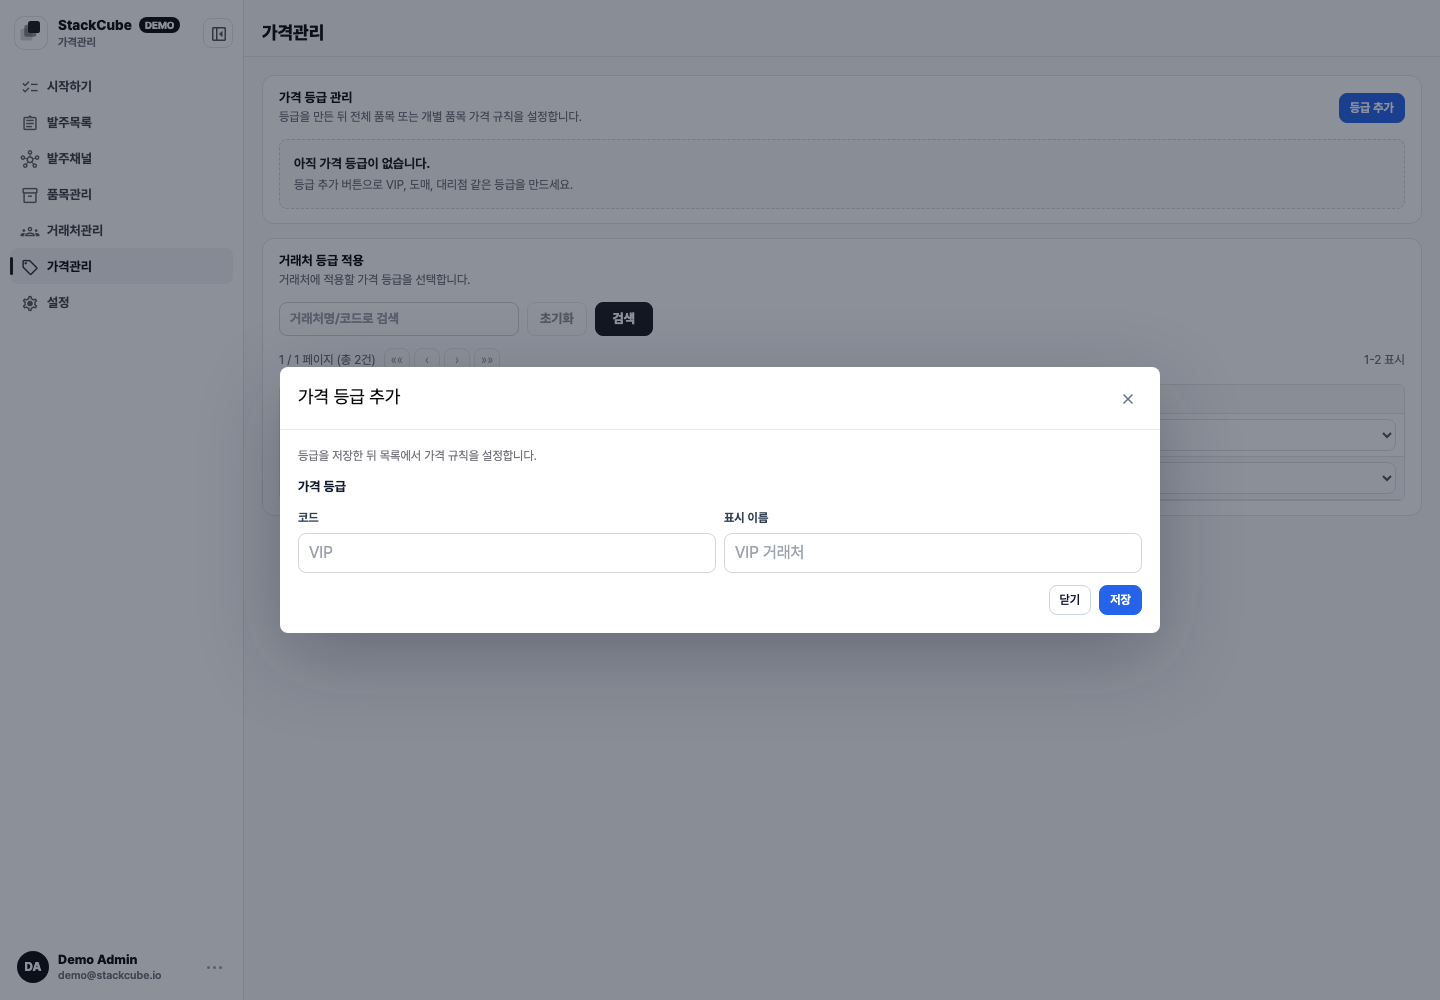
A price tier groups the rules for a customer. A price list stores individual item prices. Creating a price list alone does not apply it to customers; connect it through a tier rule.
2. Choose a target and price method#
Add a rule for all items, an item group, or an individual item.
| Method | Example with a default price of 10,000 |
|---|---|
| Fixed price | Enter 8,500 to charge 8,500 |
| Discount rate | A 10% discount gives 9,000 |
| Amount adjustment | Enter -500 to charge 9,500 |
| Sales price percentage | Enter 105% to charge 10,500 |
| Price list | Use the selected list's price for each item |
Choose a default, quantity, date, or quantity-and-date condition. Quantity conditions mean at least the minimum quantity; there is no maximum-quantity input. Set start and end dates when needed, then Save.
3. Create and connect a price list#
- Add a list in Price list management. Check its code, name, currency, dates, and active status, then save.
- In Manage item prices, enter items and prices and Save changes. Use CSV or XLSX upload for multiple items.
- Open the tier's Price rule settings and choose the price-list method.
- Select the list, configure any percentage adjustment, amount adjustment, or rounding, and save.
A price-list upload uses SKU, price, and an optional VAT-included column (Y/N). Up to 5,000 rows are supported. Omitting the VAT column keeps the existing setting; including it with an empty value uses the default setting.
If the selected list has no valid price for an item, its default sales price is used. Without a default price either, the item is unpriced. Check that the list covers all required items.
4. Rule priority#
Among rules in the customer's tier that match quantity and dates, individual item → item group → all items takes priority. Within the same target type, the larger eligible minimum quantity takes priority. Discounts are not applied one after another.
For example, an item has a default price of 10,000, an all-items discount of 10%, a lighting-group discount of 15%, and an individual fixed price of 8,000. The item uses 8,000.
Edit existing rules instead of adding duplicate conditions. For items in multiple groups, check the applied result with the actual order quantity.
5. Upload price rules by CSV#
Download CSV from the price-rule dialog, preserve its headers, and upload your changes. This is separate from uploading item prices into a price list.
Use only the values for the selected price method in each row. Specify SKU, item group, or all items as the target, and use YYYY-MM-DD for dates. Preserve rule IDs when editing. Rows without IDs may match an existing target and conditions or create a new rule, so check for duplicates.
After reviewing the upload result, Save the Price rule settings dialog to apply it.
6. Check an actual order#
Check one order with the intended customer, item, and quantity. If the price is wrong, check the customer's tier, item or group target, minimum quantity, dates, and the price-list entry.
Orders may also use manually entered or confirmed prices, or prices from recent approved orders. Check the displayed price source and VAT basis. Do not assume that changing a rule also changes existing order amounts.