Configure your StackCube workspace#
Workspace setup defines how StackCube behaves before any order is approved. Configure the basics first, then connect channels one at a time.
Basic settings#
Set the company name, business details, notification recipients, item-matching behavior, sender address, and integration targets. These values appear in admin screens, portal pages, notifications, carrier files, and ERP handoff.
Use a real operating name rather than a test label once live orders begin. It keeps order history and customer-facing portal pages clear.
Company Information#
Company settings include company name, representative, business registration number, mail-order sales number, phone, representative email, address, and privacy manager.
These values can appear in admin screens, portal guidance, customer support, and billing or contract checks. Update them before sharing live channels if business details change.
Item-Code Matching#
When item-code matching is enabled, StackCube highlights order lines that cannot be matched to catalog item codes. When it is disabled, raw item text can remain without strong unmatched-item warnings.
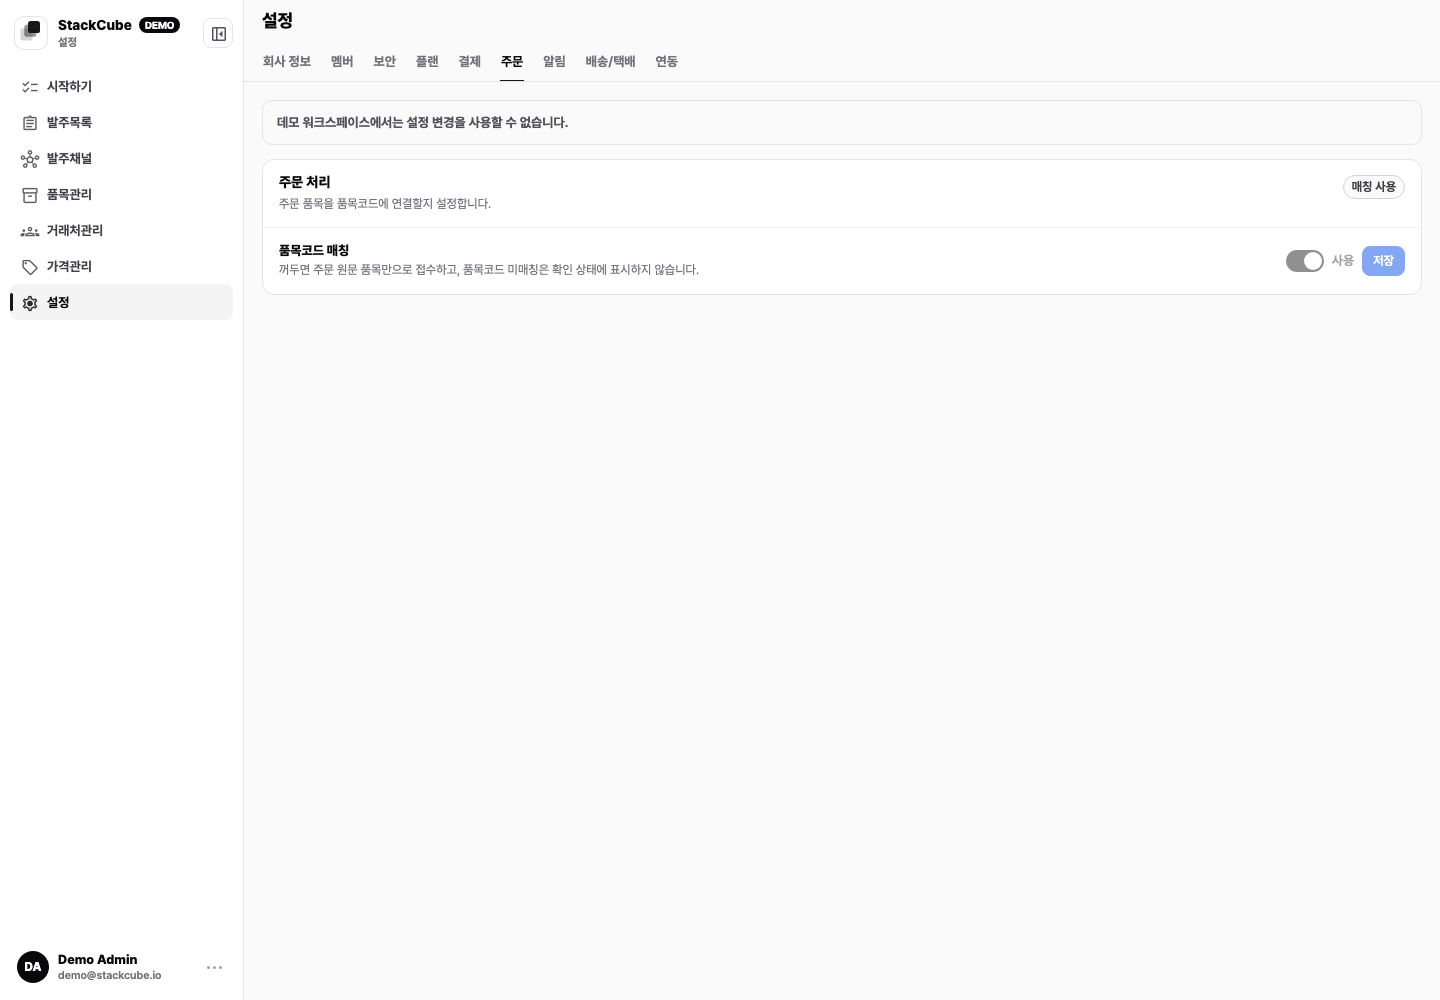
Recommended use:
- Keep it enabled once the catalog is ready.
- Disable it temporarily only during early testing or before catalog migration.
- Keep it enabled if you use the order portal or ERP export.
Notifications and Sender Defaults#
Use a shared operations email for notifications when possible. It is safer than a personal inbox when ownership changes.
Carrier sender defaults are used when order-specific sender information is blank in a carrier CSV. Update these values whenever the fulfillment warehouse changes.
Order lifecycle#
StackCube uses a simple order lifecycle:
- Received - Raw message, file, upload, or portal submission is captured.
- Candidate - AI extracts structured order data.
- Needs review - A reviewer checks matches, quantities, prices, and notes.
- Approved - The order is ready for fulfillment or ERP entry.
- Exported - Carrier or downstream files are generated.
Keep the lifecycle simple. Avoid adding custom statuses until the team has processed real orders.
Review policy#
Write down which cases should always require human review:
- Unknown customer
- Unmatched item name
- Missing quantity
- Price that differs from the item default or customer tier rule
- Duplicate-looking order
- Delivery note that affects fulfillment
Channel rollout#
Connect one channel first. Email orders or spreadsheet uploads are usually the safest starting points because they preserve the customer process.
After the first channel is stable, add KakaoTalk, SMS, order portals, and additional uploads.
Export setup#
Choose the first export target before live approval. Most teams start with carrier CSV, then decide whether ERP entry should stay manual, use CSV handoff, or require a supported ERP export.
If your team uses Ecount, review the Ecount setup fields in ERP integration approach.