Order portal#
The order portal gives customers a private catalog where they can sign in and place orders. Start with customers who reorder the same items often.
Share Place an order in the portal with customers alongside your portal address. It covers login, ordering, and checking status.
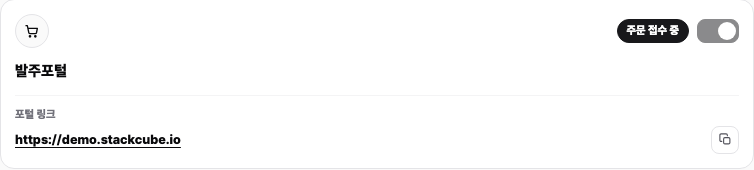
1. Configure the portal#
- In Channels → Order portal, set the address and display name, then enable order intake.
- Choose whether prices appear before login and whether options use list or grouped display.
- Check portal-visible items, images, descriptions, and default prices.
Manage the address and display options in channel settings and intake history.
2. Prepare customer accounts#
Create accounts in Customers, or approve signup requests. You can also connect a login account to an existing customer.

Signup approval#
Portal signup requests appear in Customers > Signup requests. Review each request, then approve or reject it.
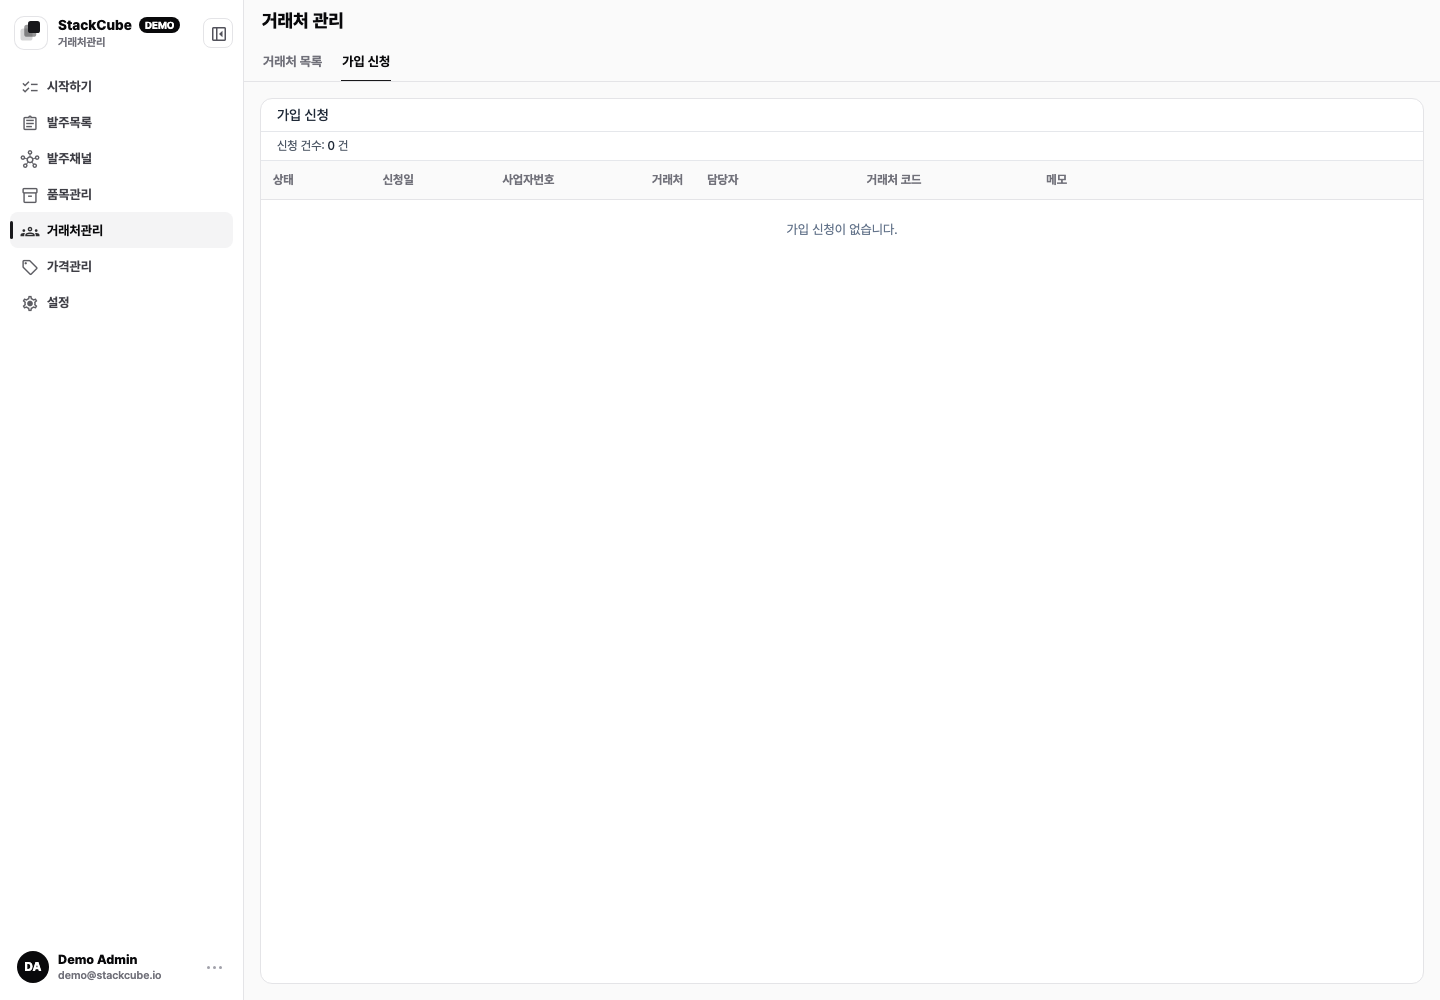
Review before approval:
- Company name and business registration number
- Contact name, mobile number, and email
- Requested login ID duplication
- Whether the customer is already registered
- Customer code
- Internal assignee and price tier
Approval creates the customer profile and portal account. Add a reason when rejecting so another request from the same customer is easy to identify.
For customer imports and signup processing, see customer imports and signup requests.
3. Check customer-specific pricing#
Portal prices use the price tier and rules assigned to each customer. The same item may show a different price to different customers.
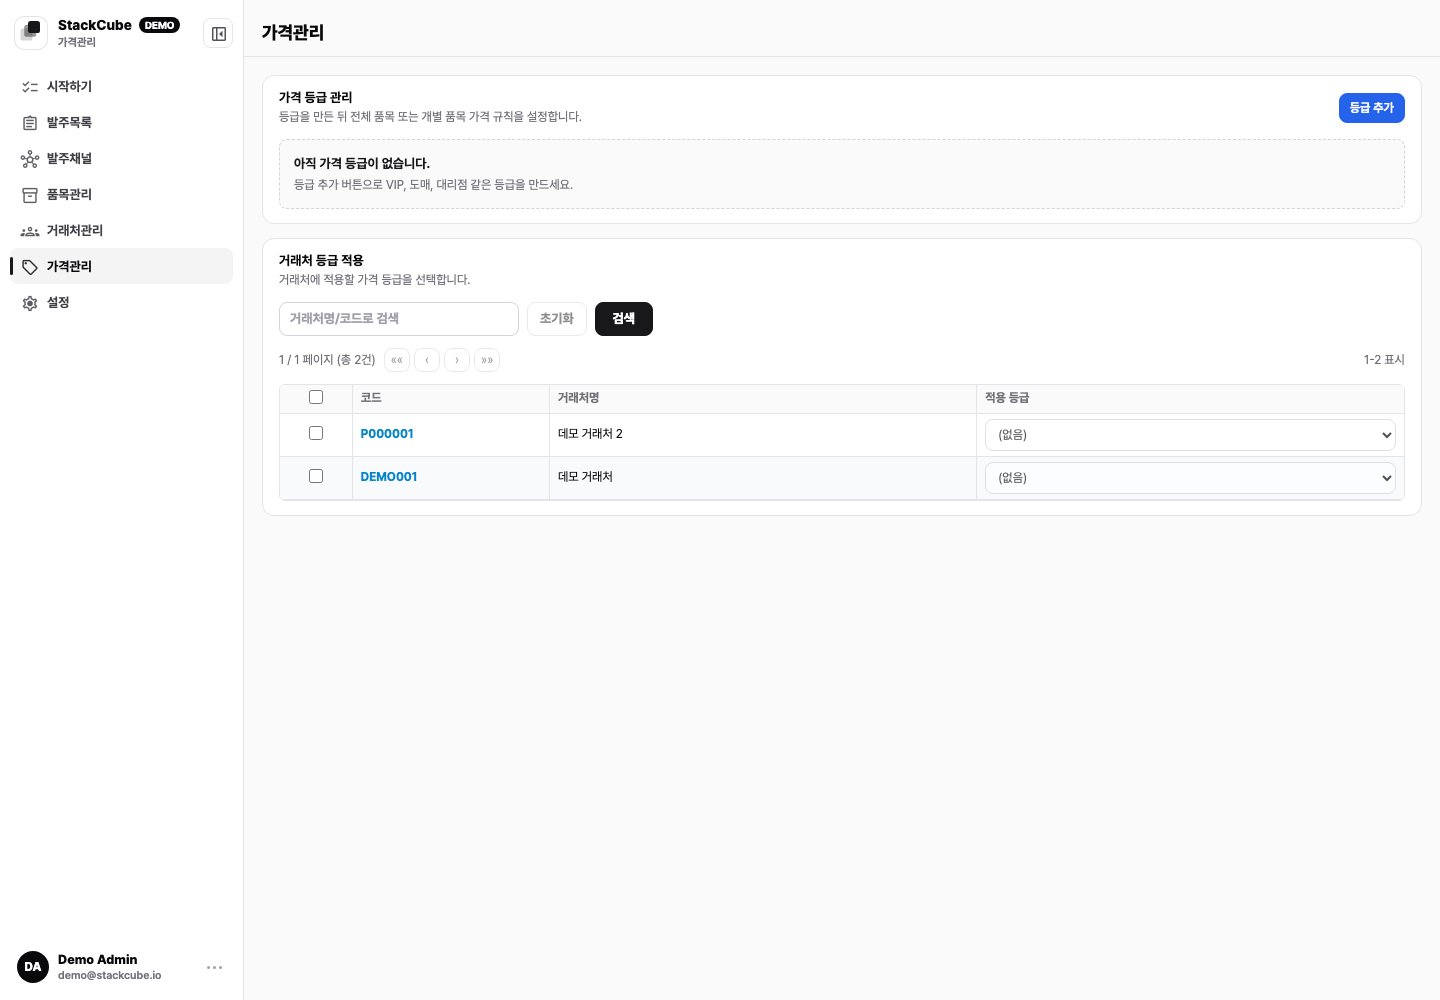
Check default item prices, assign a price tier to the customer, and configure its rules. See customer-specific pricing for setup and rule priority.
4. Choose a payment method#
Organizations in Korea using KRW can enable portal card payments through Danal. In Channels → Order portal, enable online card payments and configure the merchant ID and default payment method. Customers can have individual overrides for ordering without online payment or paying by card.
See Order portal card payments for setup, payment results, and full cancellations. Completed payment still requires your team to approve the order.
5. Test before sharing#
- Sign in to the portal with a test customer account.
- Check visible items, options, and customer prices, then submit an order.
- In Order management, check items, quantities, prices, delivery details, and duplicates before approval.
- Confirm that the customer can see the updated status in Order history.
Portal orders are not approved automatically. Completed card payment and order approval are also separate.
Start with a few customers whose items and prices are ready. Share the portal address and customer instructions. During the first week, check signup requests, login failures, missing items, and incorrect prices.